About The Author
ANCHOR POINT ROOFING
Alright, folks, let’s roll up our sleeves and get down to business. We’re about to tackle a topic that might not win any awards for glamor, but trust me, it’s a game-changer for the long-term health of your flat roof – proper drainage. I mean, who wants a roof that’s holding onto water like a leaky bucket, right?
So, while it might not be the flashiest topic, understanding and implementing proper drainage for your flat roof is a must-do project for every homeowner. It’s the key to a dry, cozy home, free from the woes of leaks and water damage.
What we’ll talk about:
- Why the correct roof sloping is critical for drainage
- 10 steps to sloping a flat roof the right way
- How to keep your flat roof in tip-top shape
Keep reading to learn everything you need to know about how to slope a flat roof for drainage.
In this comprehensive guide, we’ll walk you through the steps to slope a flat roof for optimal drainage. No more puddles, no more headaches. Let’s roll up our sleeves and get to work!
WHY PROPER ROOF SLOPING MATTERS 🏡

Before we get our hands dirty, let’s quickly chat about why ensuring proper roof slope for drainage is a must-do project for every homeowner.
🌧️ PREVENTING WATER DAMAGE
Flat roofs may look sleek, but they can trap rainwater if not sloped correctly. This can lead to leaks, structural damage, and costly repairs. Proper slope keeps water moving in the right direction.
🌞 LONGEVITY
In vegetative or green roofing, various protective layers are installed, increasing the roof’s overall life. These protective structures also reduce the need for roof repair in Chicago.
🌱 MOLD AND MILDEW PREVENTION
Standing water is an ideal breeding ground for mold and mildew. A properly sloped roof helps keep your home dry and healthy. This is because a well-sloped roof dries faster after rain. This means any moisture that does accumulate doesn’t stick around for long, making it less attractive for mold and mildew to settle in.
Now that you’re convinced of the importance, let’s dive into the nitty-gritty of how to slope a flat roof for drainage.
TOOLS AND MATERIALS YOU’LL NEED 🔨🧰
- Safety Gear: Safety goggles, gloves, and a hard hat to protect yourself while working at heights.
- Ladder: A sturdy ladder that can reach your roof safely.
- Measuring Tools: A tape measure, a level, and a chalk line for precise measurements.
- Roofing Material: EPDM or TPO roofing membrane, which are commonly used for flat roofs.
- Roofing Adhesive: High-quality roofing adhesive to secure the membrane in place.
- Plywood Sheets: If your roof decking needs repair or reinforcement.
- Screws and Nails: To secure the plywood and roofing material.
- Circular Saw: For cutting plywood to size.
- Roofing Roller: To ensure proper adhesion of the roofing material.
- Roofing Seam Roller: For smoothing out seams in the membrane.
- Roofing Knife: To trim excess material.
- Seam Primer: To prepare the membrane for seaming.
- Seam Tape: To seal seams securely.
- Sealant: To waterproof edges and seams.
- Roofing Screws: For securing flashing and other roofing accessories.
Now that you’ve got your tools and materials ready, let’s move on to the exciting part – the actual installation!
THE 10 STEP-BY-STEP GUIDE TO SLOPING YOUR FLAT ROOF 🏗️
Below we cover the 10 steps for sloping your flat roof like a champ.
STEP 1: SAFETY FIRST 🛠️
Before ascending to your roof, make sure you’re wearing all the necessary safety gear. Double-check that your ladder is stable and secure. Safety should always be the top priority.
STEP 2: INSPECT YOUR ROOF 🧐
Inspect your flat roof for any damage or weaknesses. If you find any issues with the roof decking, be sure to address them before proceeding. It’s crucial to have a solid foundation for your new roof slope.
STEP 3: CALCULATE THE SLOPE ANGLE 📏
The ideal slope for a flat roof is typically ¼ inch of slope per foot of roof. This means that if your roof is 20 feet wide, you should aim for 5 inches of slope from one end to the other. Use your tape measure and chalk line to mark the desired slope.
STEP 4: INSTALL ROOF DECKING (IF NECESSARY) 🪚
If your roof decking is damaged or uneven, you’ll need to install new plywood sheets to create a level surface. Use your circular saw to cut the plywood to size and secure it to the existing decking with screws.
STEP 5: APPLY ROOFING MEMBRANE 🏠
Now, it’s time to roll out the roofing membrane. Start at one end of the roof and unroll the membrane, ensuring it overlaps the roof’s edge by a few inches. Use roofing adhesive to secure it in place. Be sure to smooth out any wrinkles or bubbles with a roofing roller as you go.
STEP 6: CREATE SEAMS AND OVERLAPS 🔄
Overlap the edges of the roofing membrane by at least 3 inches to create a watertight seal. Use seam primer and seam tape to secure the seams and ensure they’re well-adhered. The goal here is to prevent any water from seeping through.
STEP 7: TRIM EXCESS MATERIAL ✂️
Carefully trim any excess roofing membrane using a roofing knife. Be precise, as neat edges make for a cleaner and more effective installation.
STEP 8: INSTALL FLASHING AND ACCESSORIES 🚪
If your roof has vents, chimneys, or other openings, you’ll need to install flashing to ensure these areas are watertight. Use roofing screws to secure the flashing in place.
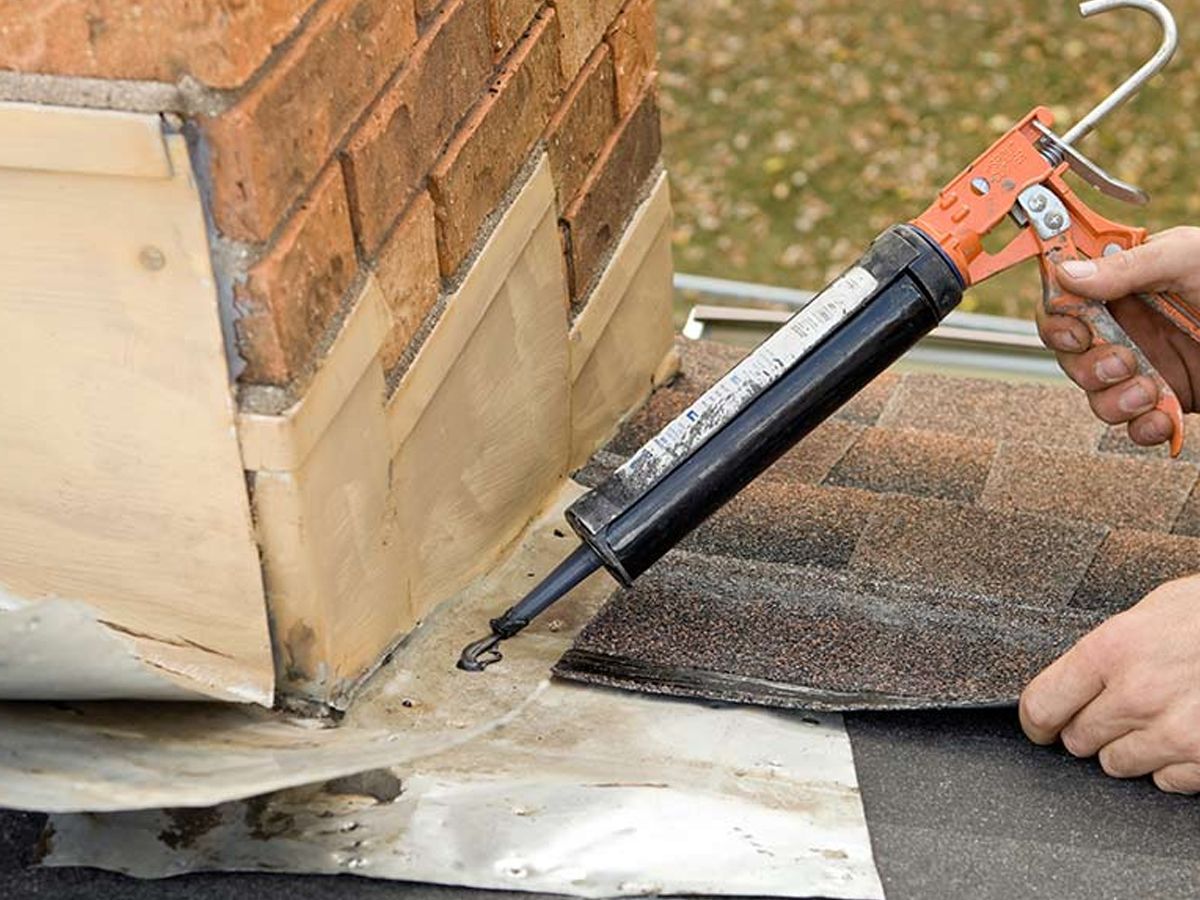
STEP 9: SEAL THE EDGES AND SEAMS 🧴
To further waterproof your roof, apply sealant along the edges and seams of the roofing membrane. This additional layer of protection will help keep water out.
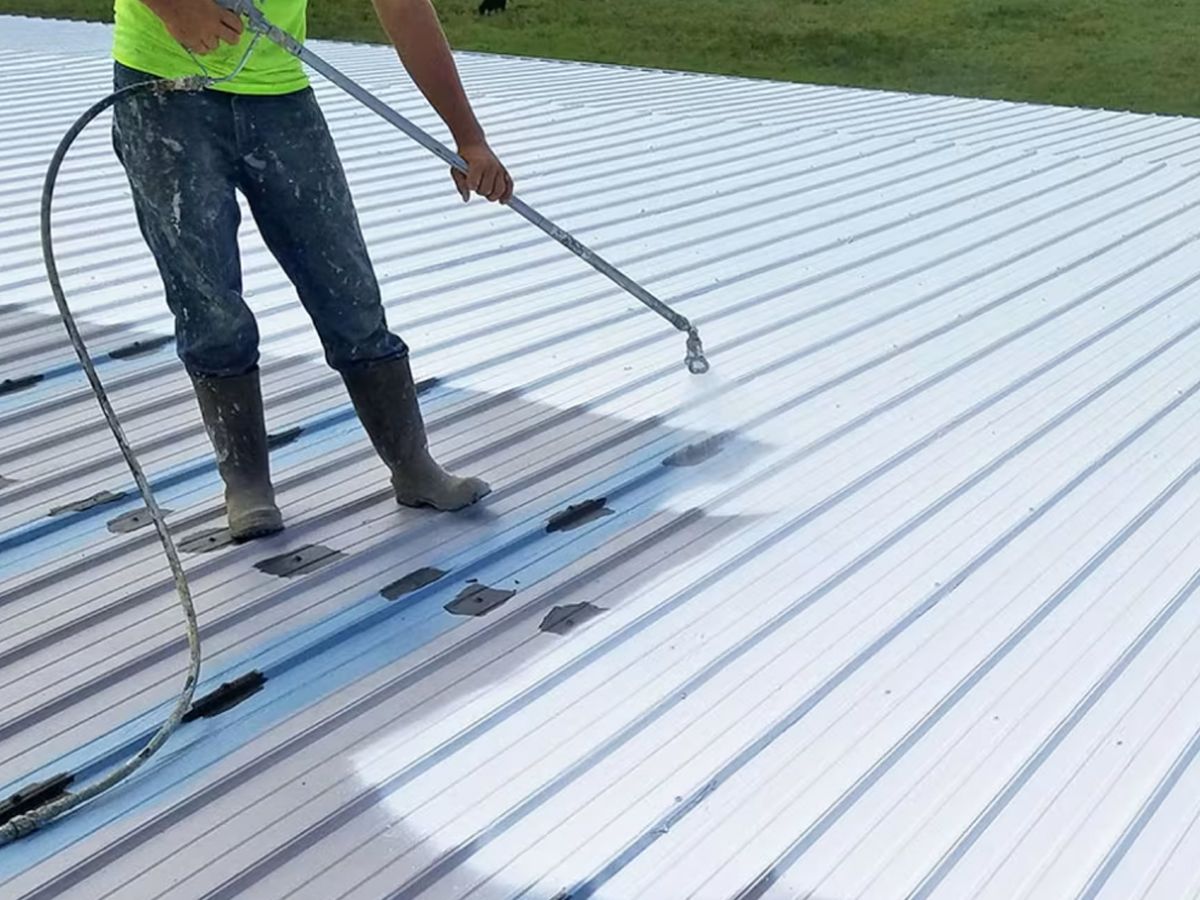
STEP 10: TEST THE DRAINAGE 💧
After completing the installation, test the drainage by spraying water on the roof and observing how it flows. Make any necessary adjustments to ensure water is directed toward the drains or gutters.
You’ve successfully sloped your flat roof for optimal drainage. Your home is now better equipped to handle rain and weather the elements for years to come.
MAINTAINING YOUR SLOPED FLAT ROOF 🧹

Proper maintenance is key to ensuring your sloped flat roof remains in top-notch condition.
- Regular Inspections: Periodically inspect your roof for any signs of damage or wear. Catching issues early can prevent more significant problems down the line.
- Clear Debris: Remove leaves, branches, and debris from your roof’s surface and drains to prevent clogs and standing water.
- Gutter Maintenance: Keep your gutters clean and in good repair to ensure a proper flat roof drainage system.
- Sealant Check: Recheck the sealant along edges and seams to make sure it’s still effective. Reapply as needed.
- Snow Removal: In snowy climates, remove excess snow from your roof to prevent the added weight from causing damage.
SLOPE YOUR FLAT ROOF LIKE A TRUE CHAMP 🏡 🛠️
Learning how to slope a flat roof for drainage may not be the most glamorous DIY project, but it’s a crucial one. By following the steps outlined in this guide and staying on top of maintenance, you can ensure that your flat roof stays watertight and worry-free for years to come.
Remember, safety should always come first when working on your roof, so don’t cut corners on safety gear and precautions. And if you ever feel uncomfortable with the tasks or unsure of your abilities, don’t hesitate to seek professional help or guidance.
Contact one of our roofing pros at Anchor Point Roofing for any questions you have about your roof, or to get a free quote!
Share this article :
RECENT ARTICLES